
Posted on Jan 5, 2025 | Frontend
Introduction to HTML, CSS, and JavaScript
Hey Devs! Have you ever wondered what it takes to make a website? From the font and colors to the buttons you click, there's a lot going on behind the scenes. Today, we'll discuss the basic structure of websites and introduce ourselves to the fundamental technologies: HTML, CSS, and JavaScript.
Topics we will cover:
- What are Webpages?
- What are Websites?
- What is HTML?
- What is CSS?
- What is JavaScript?
- Setting Up Your Development Environment
- How to Create Your First Webpage with HTML
Before we dive into HTML, CSS, and JavaScript, it's important to understand the building blocks of the web. Let's start by defining what a webpage and a website are and how they fit into the bigger picture.
If you would love to learn about how the web works you can check out my last blog on my profile or follow this link here.
Webpages:
A webpage is a single digital document that is part of a website and is displayed in a web browser. It contains content such as text, images, videos, links, or interactive elements, structured using technologies like HTML, CSS, and JavaScript.
Think of a webpage as a living room. It’s a single room in a house, designed for a specific purpose—whether it’s a place to relax, socialize, or entertain guests. Similarly, a webpage serves a specific role on the web, such as displaying a blog post, showing a product, or offering a service. A living room might have a couch, a coffee table, and a TV, all carefully arranged to offer comfort and functionality. Likewise, a webpage will have elements like headings, paragraphs, images, and buttons, arranged using HTML to create a user-friendly experience. A webpage is often the first point of interaction for users, and it must be designed to be both functional and easy to navigate.
Websites:
A website is a collection of interconnected webpages, hosted on a server, and accessed through a common domain name or URL. It serves as a platform for sharing information, offering services, or providing interactive experiences on the internet.
Websites can be static, with fixed content, or dynamic, where content updates based on user interaction or data from a server. They are built using technologies like HTML (structure), CSS (design), and JavaScript (functionality), and they may also use backend languages and databases for more complex functionalities.
Think of a website as your entire home. A website is made up of multiple webpages, each one serving a unique purpose, like different rooms in a house. You might have a living room (homepage), a kitchen (about page), or a bedroom (contact page), each designed to offer something different to visitors. These rooms (webpages) are all connected through doors (links), which allow people to move from one page to another seamlessly. Just as you wouldn’t want a home where the living room is cluttered or the bedroom is disorganized, a website needs structure, style, and functionality to make it easy to use and navigate. The pages must work together to form a cohesive experience, just like how the rooms in a home should flow well together in a unified space.
Now that we understand webpages and websites, let’s explore the three core technologies that make them work: HTML, CSS, and JavaScript.
What is HTML?
HTML stands for HyperText Markup Language and is the backbone of every webpage. It provides the structure and content of a webpage, acting like a blueprint for its layout.
Imagine HTML as the skeleton of your body—it defines where everything goes and holds everything in place. Similarly, HTML tells the web browser what elements to display, such as headings, paragraphs, images, and links. Without HTML, there would be no structure or visible content on a webpage—it’s the foundation of everything you see!
What is CSS?
CSS stands for Cascading Style Sheets and is used to style the HTML structure. While HTML gives us the structure, CSS makes it look beautiful and engaging.
Think of CSS as your skin, clothing, and accessories—it’s what makes you presentable and unique. Just like you can style yourself with different outfits or hairstyles, CSS allows you to design your webpage with colors, fonts, layouts, and animations. With CSS, we can make our websites visually appealing and enjoyable for users.
What is JavaScript?
JavaScript is a programming language that brings functionality and interactivity to your website. While HTML is the skeleton and CSS is the skin, JavaScript is like your brain and organs—it controls how things work and respond.
For example, when you think about picking up a book, your brain sends signals to your hand to perform the action. Similarly, JavaScript adds logic to your website, allowing it to respond to user actions, handle data, and perform complex tasks. It’s what makes a website dynamic and interactive.
Setting Up Your Work Environment
Now that we’ve introduced HTML, CSS, and JavaScript, let’s set up our workspace to start building websites. We’ll use a code editor to write and organize our code. While you can use a simple tool like Notepad, I recommend Visual Studio Code (VS Code) for its features and ease of use. You can check out this blog to learn how to setup VS Code
: How to Setup VS Code.
Open a Folder:
- Launch VS Code and click on File > Open Folder.
- Choose an existing folder or create a new one (e.g., on your desktop) where you’ll store your project files.
Open the Terminal:
- In VS Code, click on Terminal > New Terminal from the top menu. Alternatively, you can use the following keyboard shortcuts based on your operating system:
- Windows: Press Ctrl + ` (backtick).
- Mac: Press Command + ` (backtick).
- Linux: Press Ctrl + ` (backtick).
- Once the terminal opens, you’ll see your folder’s name displayed. This terminal is where you’ll run commands and interact with your project files.
Install Live Server:
- Go to the Extensions tab on the left sidebar of VS Code.
- Search for Live Server by Ritwick Dey and click Install.
- This tool lets you see your webpage in real-time as you make changes—no need to refresh manually!
Create Your Core Files:
-
In your project folder, create three files:
- index.html (your main HTML file).
- stylesheet.css (for CSS styling).
- scripts.js (for JavaScript functionality).
-
Use these exact names for now, as browsers look for index.html as the default starting file.
That’s it—your working environment is ready!
Now We Can Start Working.
Open your index.html file and type ! and press Enter. A HTML boilerplate is created. This is the functionality of VS Code. You would also see an option Go Live at the bottom of your screen. When you click on it, the live server will open your web browser and will launch your site. The browser, by default, looks out for index.html. If you have named the file differently, then you would see your files in the folder and have to click on it manually.
Let’s understand the HTML boilerplate now and also link it with the CSS and JavaScript files we have created for the future.
The HTML Boilerplate
<!DOCTYPE html>
<html lang="en">
<head>
    <meta charset="UTF-8">
    <meta name="viewport" content="width=device-width, initial-scale=1.0">
    <title>Document</title>
</head>
<body>

</body>
</html>
Let’s Dive Deeper into Each Section
-
<!DOCTYPE html>:
This is the first thing you write in an HTML document. It tells the browser that the page is written in HTML5 (the latest version). Without this declaration, older browsers might not render the page correctly. -
<html lang="en">:
The opening<html>tag wraps all the content of your webpage. Thelang="en"attribute specifies that the primary language of the page is English. This is important for search engines, accessibility tools, and screen readers. -
<head>:
The<head>section contains meta-information that doesn’t appear on the page but is crucial for the webpage’s functionality. This section includes things like the document’s title, character encoding, external CSS files, and JavaScript files. It's essentially the "behind-the-scenes" part of your webpage.-
<meta charset="UTF-8">:
Defines the character encoding for the webpage, ensuring that all characters, symbols, and emojis are displayed correctly. UTF-8 is universally supported and can handle text in almost any language. -
<meta name="viewport" content="width=device-width, initial-scale=1.0">:
This is a key tag for making your webpage responsive. It ensures that your page is displayed correctly on all devices, adjusting its layout to fit the screen width. Without this, pages may appear zoomed in or distorted on mobile devices. -
<title>:
The<title>tag defines what appears in the browser tab when someone visits your webpage. It’s important for both SEO (Search Engine Optimization) and user experience. Make sure to give it a meaningful title.
-
-
<body>:
The<body>tag holds the actual content that users interact with: text, images, videos, buttons, forms, etc. Everything that is visible to the user goes inside the<body>section.
By understanding the boilerplate code, you’ll have a clear framework for building your webpages. This is the foundation you’ll build on every time you create a new HTML document.
Now that your boilerplate is set up, you can go ahead and link your CSS and JavaScript files for styling and interactivity.
Now, in the head tag, go ahead and add this line:
<link rel="stylesheet" href="stylesheet.css">
Next, in the body tag, add this:
<script src="scripts.js"></script>
These two lines are the magic that connects your webpage’s structure (HTML) with its style (CSS) and functionality (JavaScript). Right now, if you launch your code with Live Server, you'll see a blank page. Why? Because you haven’t added any content yet!
Let’s Add Some Content to Your Website!
Now, let’s get something on the screen! In your body tag, add the following code:
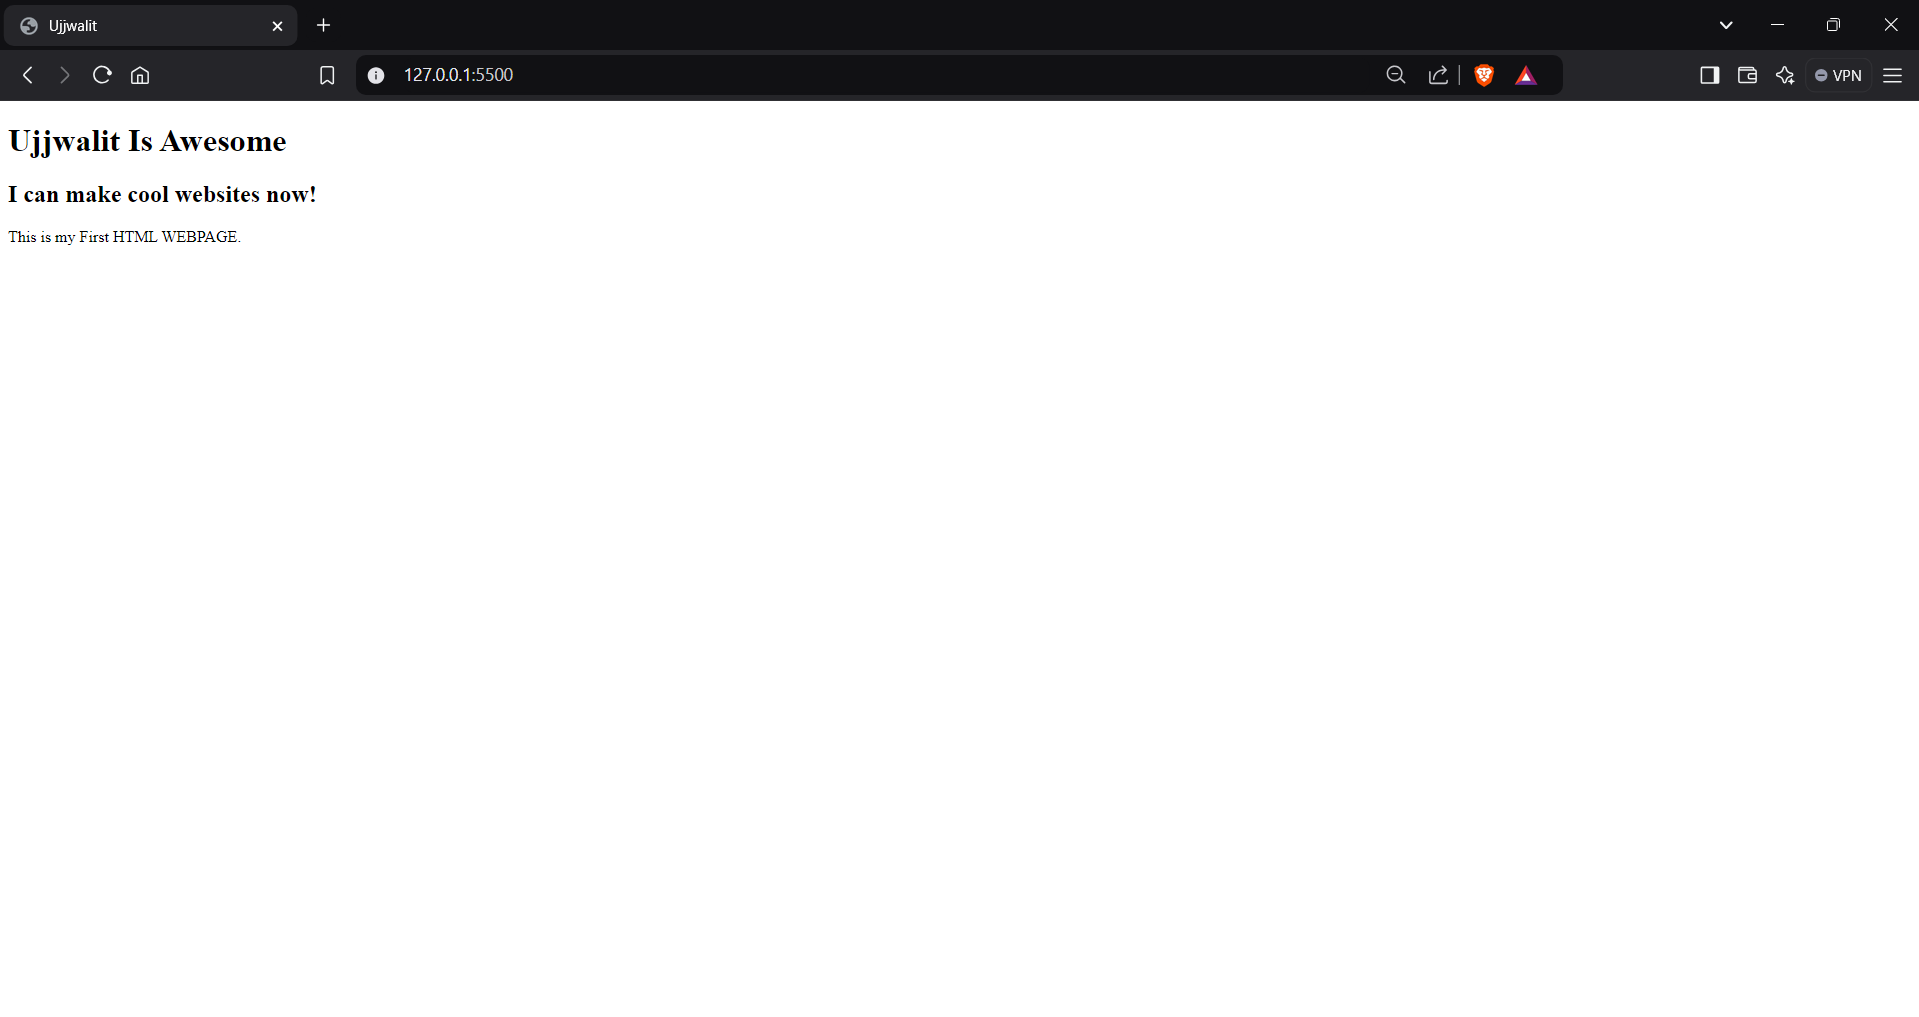
<h1>Ujjwalit Is Awesome</h1>
<h2>I can make cool websites now!</h2>
<p>This is my First HTML WEBPAGE.</p>
Here’s how your file should look now:
<!DOCTYPE html>
<html lang="en">
<head>
    <meta charset="UTF-8">
    <meta name="viewport" content="width=device-width, initial-scale=1.0">
    <title>Ujjwalit</title>
    <link rel="stylesheet" href="stylesheet.css">
</head>
<body>
    <h1>Ujjwalit Is Awesome</h1>
    <h2>I can make cool websites now!</h2>
    <p>This is my First HTML WEBPAGE.</p>
    <script src="scripts.js"></script>
</body>
</html>
Live Server in Action
Now, it’s time to see your page come to life! Either right-click on your screen and select Open with Live Server, or click Go Live at the bottom of your VS Code window.
And Voila! You’ve just created your very first webpage! It might look a bit plain right now, but trust me—once you start mastering the skills we’ll dive into, you’ll be building awesome websites with stunning animations in no time!
In the upcoming lessons, we’ll dive deeper into using HTML, exploring different tags and attributes, and really understanding the functionality of each one. Stay tuned for more and remember—Happy Learning!
10 Reactions
2 Bookmarks